Table of Contents
ToggleNot every homeowner has acres to work with. If you’re looking at a postage-stamp-sized backyard and wondering what’s possible, the answer might surprise you: plenty. Small yards aren’t liabilities, they’re canvases waiting for smart, intentional design. With the right approach to small backyard landscaping ideas, even the tightest outdoor spaces can become functional, beautiful, and genuinely livable. The trick isn’t adding more: it’s being strategic about what you choose, how you arrange it, and which vertical and horizontal real estate you activate. This guide walks you through practical steps to maximize every square foot without busting your budget or your back.
Key Takeaways
- Small backyard landscaping ideas start with a clear plan: measure your space, track sunlight patterns, and identify one or two primary functions before planting anything.
- Choose low-maintenance, native, and drought-tolerant plants rated for your USDA zone to reduce watering, fertilizing, and pest management while supporting local wildlife.
- Maximize vertical space with trellises, wall-mounted planters, and living walls to grow vegetables, herbs, and flowers without consuming ground-level square footage.
- Create a single focal point—like a birdbath, small fountain, or cozy seating nook—positioned where it’s visible from your house to give the yard intentional purpose.
- Define zones and reduce maintenance through affordable hardscaping: use landscape edging, mulch pathways, or gravel walkways to organize space and create visual structure.
- Implement budget-friendly materials like wood chip pathways, recycled pavers, or salvaged brick to add character and division without breaking your landscaping budget.
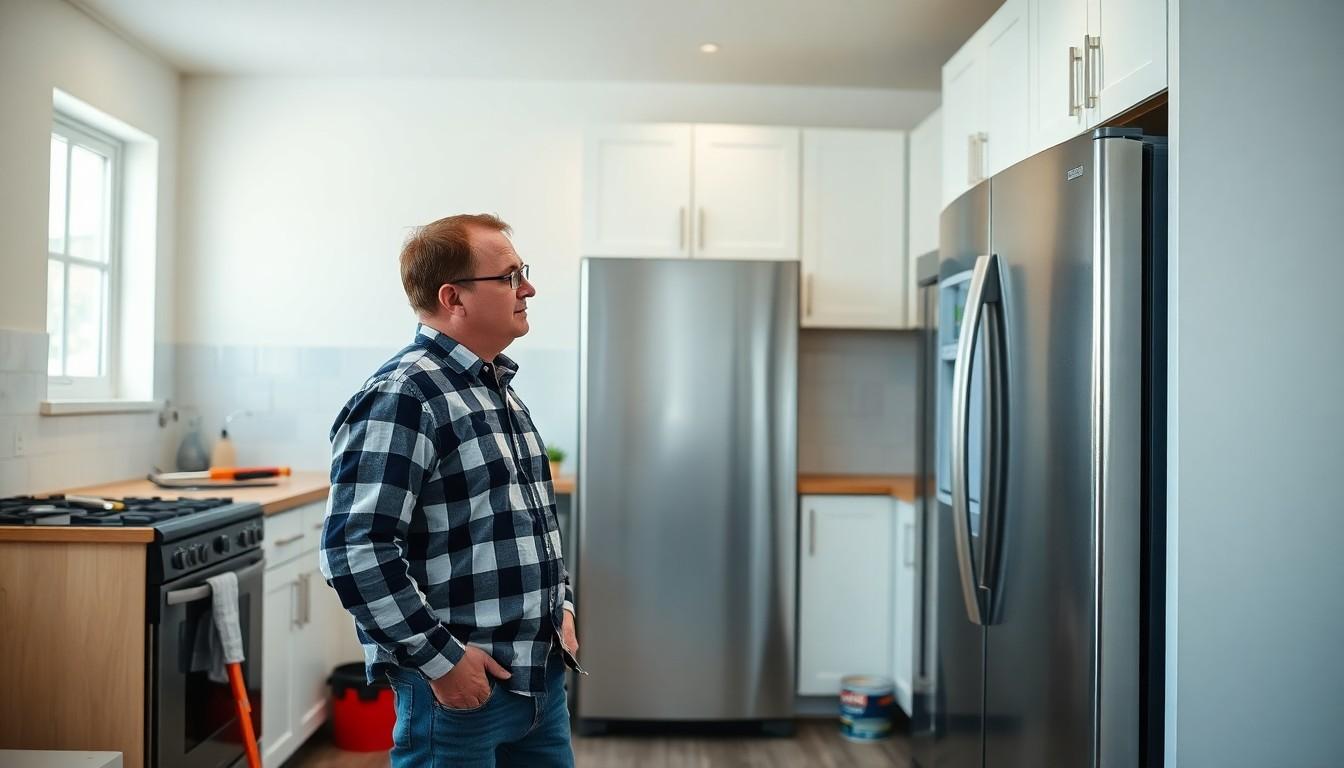
Start With a Clear Landscape Plan
Before you buy a single plant or shovel of mulch, spend an hour sketching your space. Grab a measuring tape and note the actual dimensions of your backyard, not a rough guess. Measure sunlight patterns too: full sun (6+ hours), partial shade (3–6 hours), or full shade. Mark any utilities, downspouts, fence lines, and existing trees or shrubs. This map is your North Star.
Next, decide what you actually need from this space. Do you want a seating area? A small vegetable garden? Play space for kids? A dog run? A reading nook? Most small yards can’t do everything, so prioritize one or two main functions. Sketch those zones lightly on your map, leaving walking routes between them. A typical rule: keep pathways at least 24 inches wide so you’re not shuffling sideways through your own yard.
Once you have this rough plan, sit in the space at different times of day. Where does afternoon shade fall? Where does water pool after rain? Which corner gets the warmest, sunniest exposure? These observations are gold. They’ll guide plant placement and help you avoid common mistakes like planting shade lovers where the sun bakes them all summer. Taking 30 minutes now saves hours of replanting later.
Choose Low-Maintenance Ground Covers and Plants
In a small yard, every plant earns its keep. Skip plants that demand constant fussing, deadheading every week, staking, treating for pests, or doubling in size faster than you can blink. Instead, choose shrubs and perennials that are rated hardy in your USDA zone and naturally suited to your light and soil conditions.
Good starter shrubs for small spaces include Japanese boxwood (2–3 feet tall), dwarf conifers like blue star juniper (keeps a tight form), and hydrangeas (prune them hard in late winter to control size). Pair them with easy-care perennials: daylilies, salvia, coreopsis, and Russian sage all tolerate poor soil and irregular watering once established. Ground covers like creeping phlox, vinca minor, or lamb’s ear fill bare patches and reduce weeds without demanding much.
When selecting plants, always check the mature height and spread. “Dwarf” can still mean 6 feet in a decade. Read the plant tag or search the botanical name online. If in doubt, choose something smaller: you can always add plants, but removing overgrown shrubs is backbreaking work.
Native and Drought-Tolerant Options
Native plants are a no-brainer for small yards. They’re adapted to your local rainfall, soil, and pest populations, so they need less fertilizer, water, and pest management once their roots are established. Plus, they support pollinators and birds, free pest control and free entertainment.
Drought-tolerant plants like ornamental grasses, sedums, lavender, and butterfly weed are equally forgiving. Many thrive on neglect and actually prefer dry soil: overwatering them kills them faster than underwatering. If your yard has sandy or rocky soil, lean into this: use sedums, catmint, and blanket flower instead of fighting the soil type.
To find natives for your region, check with your local cooperative extension or native plant society. They’ll list species suited to your conditions and often have seasonal plant sales cheaper than big-box stores. Using native plants for landscaping is one of the smartest shortcuts in small-space design because they demand so little and deliver so much.
Maximize Vertical Space With Trellises and Wall Gardens
Vertical gardening is the secret weapon of small-yard design. When your horizontal footage is limited, grow up. Trellises, wall-mounted planters, and living walls turn bare fences and walls into productive growing space without eating up ground square footage.
A wooden trellis (or metal one, if you prefer durability) costs $30–$100 and can support climbing vines, beans, peas, or lightweight clematis. Lean it against a fence or wall and attach it securely with L-brackets so wind doesn’t topple it. Trailing ivy, jasmine, or honeysuckle covers an ugly fence and creates shade and privacy within months.
For vertical vegetables or herbs, install wall-mounted pocket planters, those fabric pouches that hang flat against a surface. Fill them with potting soil and plant lettuces, herbs, strawberries, or trailing flowers. They’re lightweight and cost $20–$60 per unit. Just remember they dry out faster than ground-level planters, so check soil moisture every few days during hot weather.
Wall gardens and trellises also soften hard lines and add visual interest at eye level, making a small space feel less cramped. Experts note that strategic vertical landscaping makes small gardens look bigger by drawing the eye upward and creating depth. Plan to spend $100–$300 for a trellis system, planters, and soil for a modestly sized vertical garden.
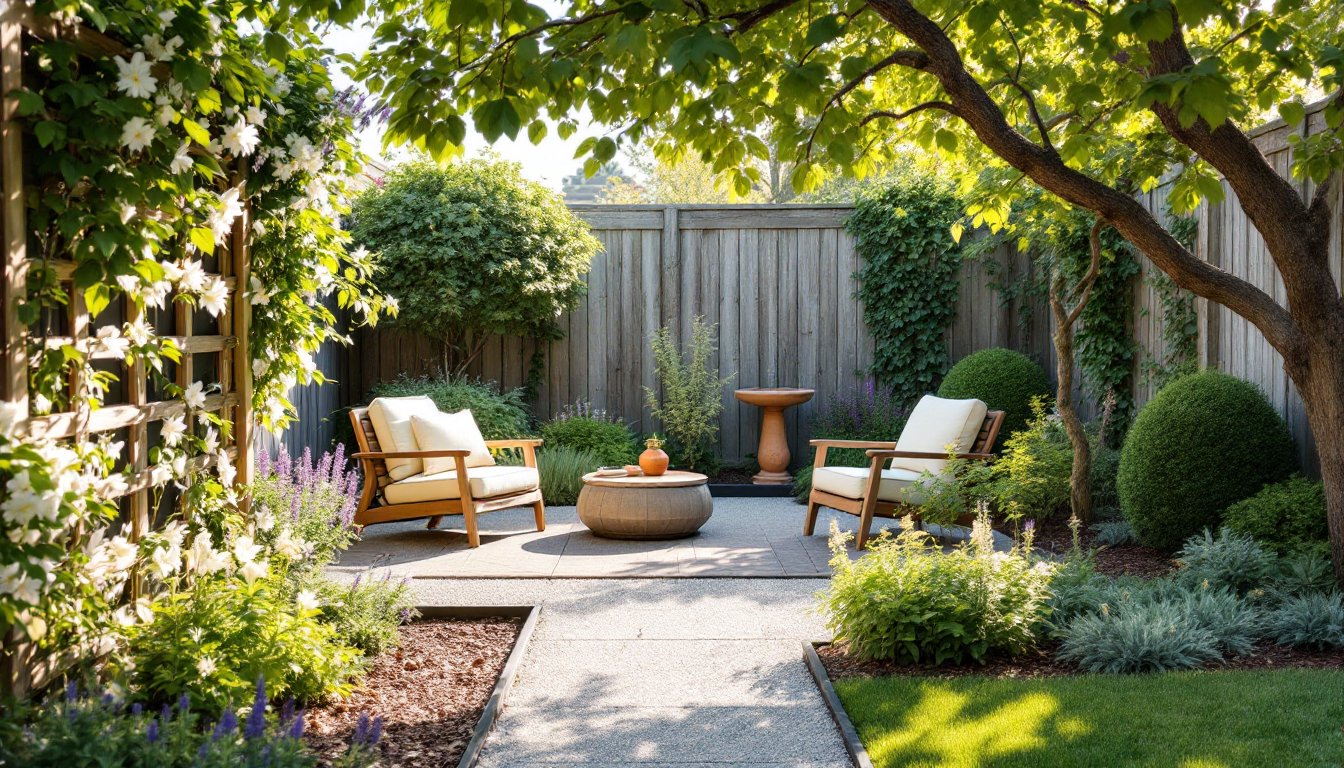
Create Focal Points With Small Water Features or Seating Areas
A focal point gives the eye somewhere to land and makes the space feel intentional rather than haphazard. In a small yard, this is your anchor, pick one, not three. A simple birdbath (around $30–$80) adds visual interest and attracts birds without taking up much room. A small tabletop fountain ($40–$150) provides soothing water sounds, which mask street noise and make a cramped space feel more peaceful.
If water features aren’t practical (or you’d rather avoid the maintenance), a seating nook works beautifully. A single bench or a pair of comfortable chairs with a small side table becomes a real retreat. Tuck it into a corner, near a tree for shade, or against a fence line. A 4-by-6-foot corner dedicated to sitting invites people to actually use the yard instead of just looking at it.
Whatever you choose, water feature or seating, place it where you’ll actually see it from inside the house. If it’s hidden in a back corner, it won’t feel like an extension of your living space. Hardscape around it: a small gravel or paver circle creates definition and makes the feature feel intentional. This focal-point strategy helps overcome that “cramped” feeling and gives the yard purpose.
Use Hardscaping to Define Zones and Add Structure
Hardscaping, the hard materials in your landscape, creates structure and makes a small yard feel organized. It also reduces maintenance: instead of fighting weeds in every corner, define planting beds with edging or pathways with pavers, and you’ve instantly reduced turf and maintenance headaches.
Start simple. Install landscape edging (plastic or metal, $0.50–$2 per foot) around planting beds to keep mulch from spilling onto lawn and grass roots from creeping into beds. This one detail makes even an overgrown yard look cared for. If your budget allows, lay a stepping-stone pathway through the yard: a 2-foot-wide path from the patio to a back corner costs $100–$300 in materials and makes the space feel purposeful and navigable.
Boundaries create psychological separation between zones. A gravel pathway, a row of edging, or a low fence line tells the brain: “This is the patio zone, that’s the planting zone, and that’s the seating zone.” Without these divisions, a small yard reads as one amorphous blob.
Pathways, Pavers, and Budget-Friendly Materials
You don’t need expensive pavers to define space. Mulch pathways (wood chips or shredded bark) cost $3–$8 per cubic yard and soften the look of a small yard while being permeable and eco-friendly. Rake them flat and define the edges with landscape edging for a polished look.
Gravel or crushed stone pathways ($2–$5 per square foot) are equally affordable and work well in cottage or modern styles. Just rake them occasionally and top up gravel as it settles. If you want something more permanent, recycled rubber pavers ($2–$4 per paver) or concrete pavers ($2–$6 each) come in various colors and patterns. Laid on a 1-inch sand base, they create a clean, durable walking surface.
For a truly budget-conscious approach, brick salvaged from local demolition salvage yards can be relaid for $1–$3 per brick. They add character and cost less than new materials. Whatever you choose, pathways serve double duty: they’re practical routes through the garden and visual anchors that make the space feel designed. Professional landscape design ideas often use these layering tricks to maximize visual impact in tight footprints.