Table of Contents
ToggleIf your hot water has turned lukewarm or stopped coming altogether, it’s time to think about water heater installation in Charlotte. The average water heater lasts 8–12 years, and when it fails, you’re looking at either a quick repair or a full replacement. This guide walks you through the signs that your unit is done, how to choose between tank and tankless systems, what the installation process involves, and why hiring the right professional matters. Whether you’re a hands-on homeowner or prefer to delegate the work, understanding your options ensures you’ll make an well-informed choice that fits your home and budget.
Key Takeaways
- Water heater installation in Charlotte typically costs $1,200–$2,000 for tank systems and $2,500–$4,500 for tankless units, requiring a licensed professional and local permit.
- Age (10+ years), rusty water, strange noises, leaks, and inconsistent temperatures are clear signs your water heater needs replacement to avoid costly water damage.
- Tank heaters offer affordable upfront costs and instant hot water, while tankless systems are more energy-efficient and compact but require higher installation investment and proper sizing for your household.
- The water heater installation process takes 2–4 hours for tank replacements and involves shutting off utilities, removing the old unit, connecting water lines, and testing the system for leaks.
- Annual maintenance—flushing the tank, checking the pressure relief valve, insulating the unit, and replacing the anode rod—extends your water heater’s lifespan by 2–4 years.
Signs You Need a New Water Heater
Catching a failing water heater before it floods your basement or garage saves headaches and money. Several telltale signs indicate replacement is on the horizon.
Age is the first clue. If your unit has been running for 10+ years, plan for replacement even if it’s still working. Water heaters degrade internally over time, becoming less efficient and more prone to sudden failure.
Rusty water coming from hot taps suggests corrosion inside the tank. This mineral buildup, called sediment, reduces efficiency and shortens lifespan. If you’re getting brown or orange water only from the hot side, the heater’s interior is rusting.
Strange noises, popping, rumbling, or banging, mean sediment is building up on the heating element. As it hardens, heat causes it to shift and crack, creating those sounds. This is a sign the tank is working harder than it should.
Leaks around the base or from the pressure relief valve are a red flag. A small puddle today becomes a water damage nightmare tomorrow. If you spot pooling water, don’t wait, start shopping for a replacement.
Inconsistent temperatures or running out of hot water faster than usual point to declining efficiency. The heating element may be failing, or sediment buildup is reducing the tank’s effective capacity.
Choosing Between Tank and Tankless Systems
Once you’ve decided replacement is necessary, the next choice is system type. Tank and tankless heaters serve the same purpose but work very differently.
Tank Water Heaters
Tank systems store 40–80 gallons of hot water ready to use. The heater constantly maintains this water at your set temperature (usually 120°F), so hot water is instant when you turn on the tap.
Tank heaters are affordable upfront, typically $400–$800 for the unit alone. Installation is straightforward if you’re replacing an existing tank in the same location: the plumbing and gas or electric connections are already there. They’re also forgiving if your household uses multiple showers simultaneously: you’ve got a reserve of preheated water.
The downside? Tank heaters waste energy keeping water hot all day, even when you’re not using it. They also take up floor space, usually a 50-gallon unit stands 5 feet tall. Once the tank empties, you’re waiting for it to reheat, which takes 20–30 minutes depending on the system.
Tankless Water Heaters
Tankless systems heat water on demand using a high-powered burner or heating element. There’s no storage tank: water flows directly through the heater, warming as it goes.
Tankless units are compact and energy-efficient, they don’t waste heat maintaining a stored supply. They’re ideal if you’re trying to reduce utility bills long-term or have limited space (like a small utility closet).
But, tankless heaters cost more upfront: $1,500–$3,000+ for the unit, plus installation can run $500–$2,000 if plumbing or venting upgrades are needed. They also have a lower flow rate, if two showers run simultaneously, the water may feel lukewarm. In Charlotte’s climate, they work well, but they require proper sizing for your household’s peak demand.
Installation Steps: What to Expect
Understanding the installation process helps you prepare your home and communicate with the contractor.
Step 1: Shut off utilities. The installer will turn off your water supply and either the gas line (for gas heaters) or electrical circuit (for electric heaters). This is non-negotiable for safety.
Step 2: Drain and disconnect the old unit. The tank is emptied, drained, and disconnected from inlet and outlet pipes. For gas units, the gas line and venting are also removed. This can be messy, the installer will place a drain pan underneath.
Step 3: Remove the old heater. A 50-gallon tank full of sediment-laden water weighs 400+ pounds. Most installers use a dolly and may need two people to safely remove it.
Step 4: Prepare the new location. The installer checks that the space is level, clear of obstructions, and meets clearance codes (especially important for gas units, which need space around them for ventilation).
Step 5: Connect water lines. The hot and cold water pipes are connected to the new tank or unit. Installers use brass or stainless-steel fittings to prevent corrosion. A shut-off valve is installed on the inlet line.
Step 6: Install expansion tank and relief valve. The pressure relief valve (a safety device) and often an expansion tank (to absorb pressure spikes) are mounted near the heater.
Step 7: Reconnect gas or electrical. For gas units, the supply line and venting (typically 4-inch metal ducting to the roof or through an exterior wall) are reattached. Electric units are reconnected to the circuit breaker with proper-gauge wiring.
Step 8: Fill and test. The tank is refilled, the system is bled of air, and the temperature is set. The installer tests hot water flow and checks for leaks.
Installation typically takes 2–4 hours for a tank replacement, longer if modifications to plumbing or venting are needed. If you’re upgrading to a different heater type (tank to tankless), allow 4–6 hours.
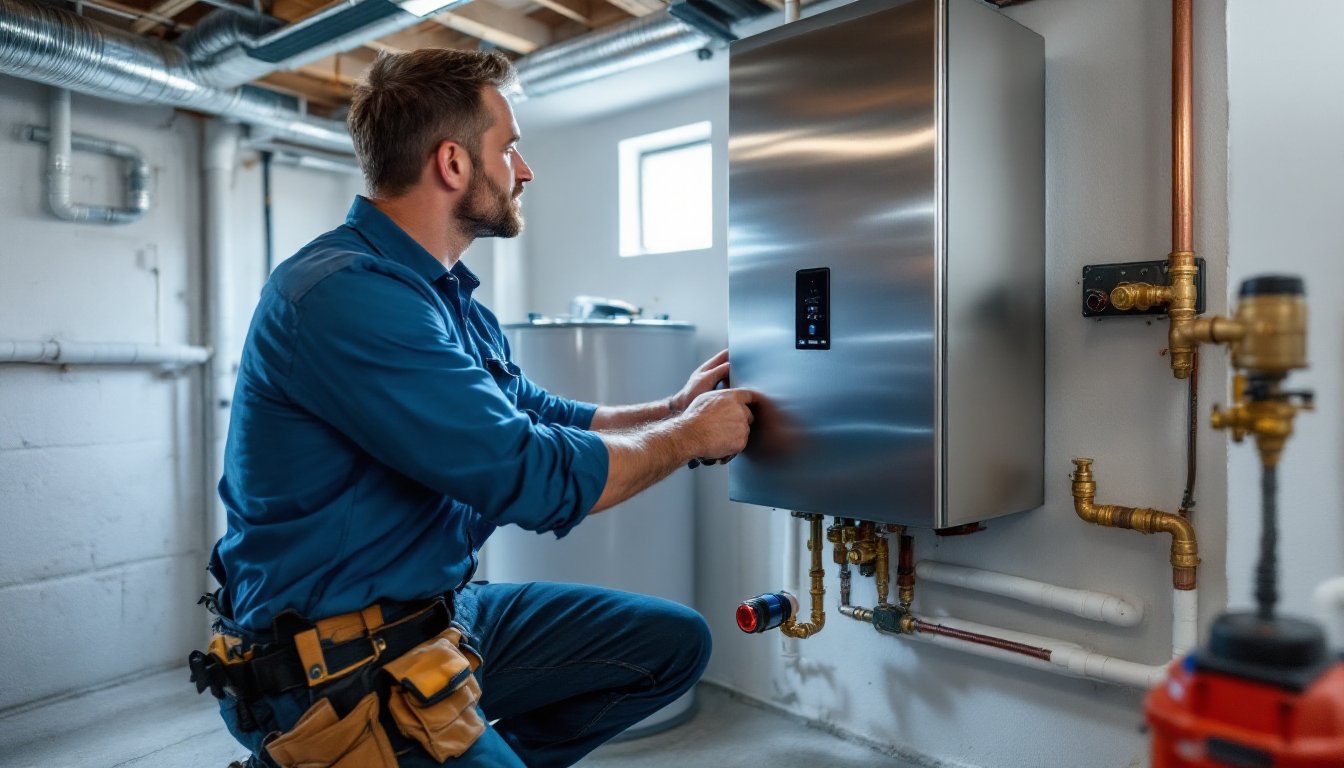
Hiring a Professional Installer in Charlotte
While some homeowners tackle DIY plumbing, water heater installation involves gas or high-voltage electrical work and building code compliance that nearly always requires a licensed pro.
Charlotte and Mecklenburg County require permits for water heater replacement. The installer pulls the permit, schedules inspections, and ensures the unit meets local codes. Skipping this step exposes you to liability and can cause problems when selling your home.
Finding a qualified installer: Start by checking platforms like top-rated water heater professionals in Charlotte, NC or HomeAdvisor’s contractor matching service, which verify licenses and reviews. Ask friends and neighbors for recommendations, word-of-mouth is reliable in Charlotte’s tight-knit neighborhoods.
When you call for quotes, ask if the price includes permit fees, inspection, and warranty on labor. A typical tank water heater installation in Charlotte runs $1,200–$2,000 all-in: tankless units cost $2,500–$4,500 depending on venting and plumbing upgrades.
Verify the installer is licensed. North Carolina requires a plumbing license for water heater work. Ask for proof of liability insurance and workman’s comp, you don’t want to be liable if someone gets hurt on your property.
Read the warranty carefully. Most units come with a 6–12 year tank warranty: the labor warranty is usually 1–2 years. Some installers offer extended warranties for a fee.
Maintenance Tips to Extend Lifespan
Once your new water heater is installed, simple maintenance extends its life and keeps it running efficiently.
Flush the tank annually. Sediment accumulates at the bottom, reducing efficiency and creating noise. Attach a hose to the drain valve at the tank’s base, run it outside or to a floor drain, and open the valve. Let 5–10 gallons drain. This takes 15 minutes and pays dividends. For tankless units, flush annually with a commercial descaling solution, mineral buildup clogs the heating element faster in Charlotte’s moderately hard water.
Check the pressure relief valve. This safety device should be tested yearly. Lift the lever slightly to hear/feel a burst of water: if nothing comes out or it’s stuck, replacement is needed. This costs $50–$150 but prevents pressure buildup that could damage the tank.
Insulate the tank. An insulation blanket ($20–$40) wraps around the tank, reducing standby heat loss by 25–45%. This is especially valuable if your heater is in a cold basement or garage.
Monitor the anode rod. This sacrificial metal rod (usually magnesium or aluminum) corrodes instead of the tank, protecting it. Tank heaters should have it replaced every 3–5 years: a plumber can handle this for $100–$200.
Keep the area clear. Don’t store boxes, tools, or clutter around the heater. It needs ventilation, and you need access for maintenance. Cluttered heaters run hotter and less efficiently.
For tankless units, descale quarterly in hard-water areas. Use a descaling kit from ImproveNet’s project planning resources or hire a pro for annual maintenance ($100–$200).
Regular maintenance extends water heater life by 2–4 years and improves efficiency, offsetting the small cost in time and materials.