Table of Contents
ToggleA puddle on your kitchen floor and a Whirlpool refrigerator leaking water inside is never welcome, but the good news: you probably don’t need a technician to fix it. Most refrigerator leaks stem from simple, fixable culprits, a clogged drain line, a kinked water supply hose, or a dirty water filter. Before you call for repairs, walk through these six troubleshooting steps yourself. You’ll save time and money, and you might solve the problem in under an hour. This guide covers the most common causes and walks you through the diagnostic process and solutions a handy homeowner can handle.
Key Takeaways
- A Whirlpool refrigerator leaking water inside is usually caused by a clogged defrost drain, kinked water supply hose, or dirty water filter—all fixable by homeowners in under an hour.
- Locate the water leak by checking inside the fridge first (bottom drawers, crisper, back panel) versus under the unit to determine whether the issue is internal or from the water supply line.
- Clear the defrost drain by flushing it with warm water using a turkey baster or syringe; this is the most common culprit and requires no special tools.
- Inspect the water supply line for cracks, kinks, or loose connections, and always turn off the water supply before inspecting to prevent flooding.
- Replace or clean the water filter if it’s older than six months or visibly discolored, as a clogged filter can cause pressure buildup and internal leaks.
- Monitor your refrigerator for 24 hours after troubleshooting, since the defrost cycle runs every 8–12 hours; contact a professional technician if water persists after basic fixes.
Identify Where The Water Is Coming From
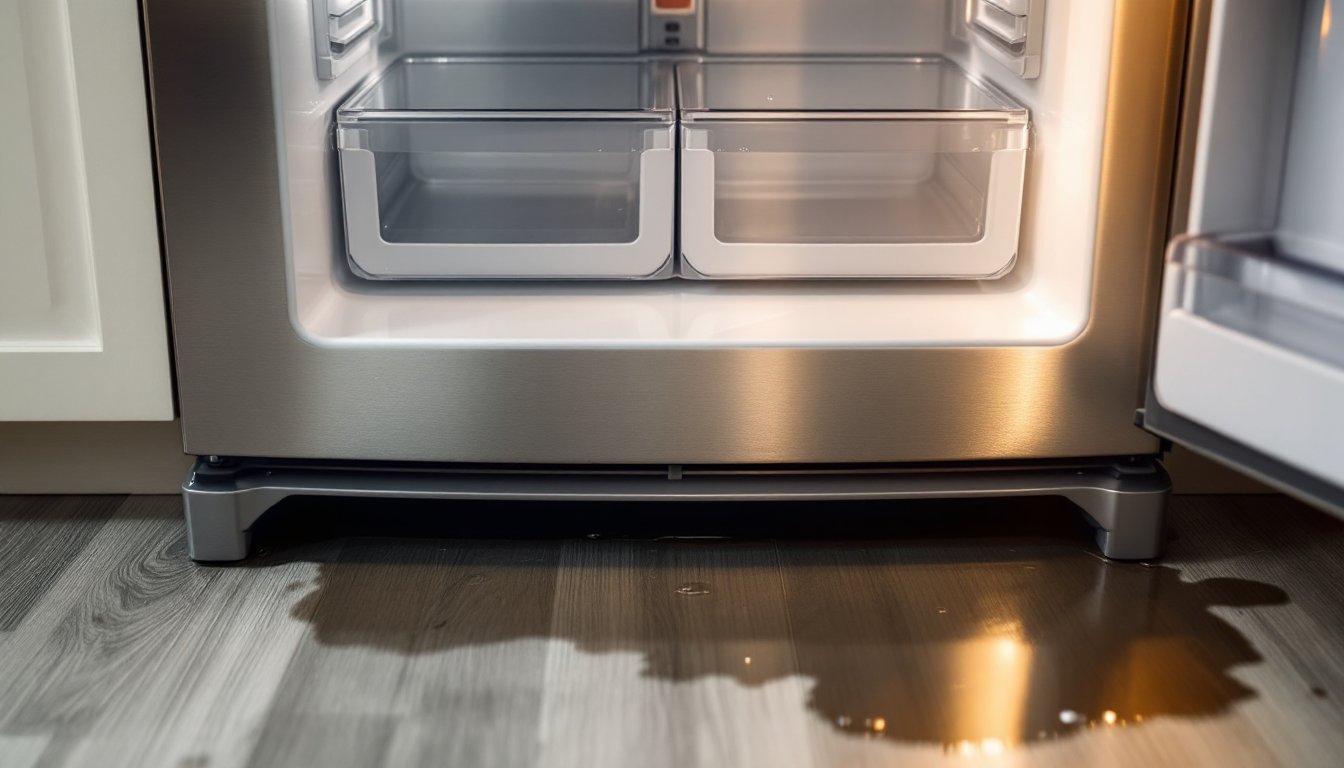
Before you start pulling parts apart, figure out exactly where the water is leaking. Is it pooling inside the fridge or underneath? Are you seeing moisture in the vegetable crisper drawer or dripping from the back wall?
Start by checking the inside of the refrigerator first. Look for standing water in the bottom drawers, behind the crisper, or along the back panel. If water is collecting inside, the issue is likely an internal component, probably the defrost drain or the fill tube connected to the ice maker. If the floor beneath or behind the fridge is wet, the leak could be from the water supply line, the drain pan underneath, or the defrost water path.
Pull out the removable shelves and drawers to get a clear view of the interior. Check both the fresh-food section and the freezer. Wipe down condensation with a clean cloth so you can see exactly where active water is accumulating. Take a photo with your phone so you remember the wet spots while you’re troubleshooting, it helps narrow down which component to inspect next.
Check And Clear The Defrost Drain
The defrost drain is the most common culprit behind a refrigerator leaking water inside. This small drain line carries melted ice and condensation from the evaporator coils (where cold air is made) down and out of the fridge. When this drain freezes solid or clogs with food particles, mineral deposits, or mold, water backs up and pools inside.
Locating and clearing this drain is something any homeowner can do. You’ll need a bucket, warm water, and maybe a turkey baster or syringe, no special tools required.
How To Locate Your Drain Line
The defrost drain opening is usually a small hole (roughly the size of a pencil) located inside the fridge, typically at the back bottom corner or along the back wall near the floor. In some Whirlpool models, you may find it behind the vegetable crisper drawer or in a channel along the fridge’s back interior. Open your refrigerator door and look carefully at the back wall near the base, you’re looking for a small rubber or plastic cap covering a drain hole.
Once you’ve found it, remove any visible debris by hand (wear gloves). Then flush the line with warm water using a turkey baster, syringe, or a small container. Squeeze or pour water down the opening slowly. If water backs up or drains slowly, the line is partially clogged. Keep flushing until water flows freely. If the line is frozen, pour warm (not boiling) water down it carefully to thaw it, never use boiling water, as you could crack plastic fittings. After clearing, run water through once more to confirm good drainage.
Inspect The Water Supply Line
If your Whirlpool has an ice maker or water dispenser, water travels to it through a plastic or copper supply line. A pinched, cracked, or loose connection on this line will leak water, usually under the fridge or inside the cabinet behind it.
Start by disconnecting power to the refrigerator. Turn off the water supply valve (usually behind or under the fridge, or at the main water shut-off). Then carefully pull the fridge away from the wall or open the back access panel to inspect the fill tube and water inlet valve where the line connects.
Look for visible cracks, kinks, or splits in the water line. Check all connections, they should be tight and not weeping. If a connection is loose, you may be able to tighten it by hand or with an adjustable wrench. If the line is cracked or punctured, it needs replacement, a $30–$80 part depending on your model. Order the correct part number for your Whirlpool (find it on the serial plate inside the fridge) and follow the manufacturer’s instructions, or call a technician if you’re not comfortable with the swap. Important: always turn off the water supply before working on the line to prevent flooding.
Clean Or Replace The Water Filter
A clogged water filter reduces water flow to the ice maker and can cause pressure to build up in the supply line, leading to leaks at weak points. If your Whirlpool has a water dispenser, a dirty filter may also cause water to back up internally and drip inside the fridge.
Locating and replacing the filter is straightforward. Most Whirlpool models have the filter in the fridge section (bottom front corner, inside a cabinet, or behind the crisper drawer) or in the freezer section. Consult your manual or the Whirlpool website for your specific model’s location. Many filters are twist-on or slide-in cartridges.
Turn off the water supply before servicing the filter. If your filter is older than six months or shows visible discoloration or debris, replace it with a genuine Whirlpool filter or an approved third-party equivalent. Follow the manufacturer’s installation steps, usually you’ll flush the new filter with a gallon of water before putting it into service. Turn the water back on and run the dispenser for 30 seconds to clear air from the line. Check for leaks at the filter connection. A guide on common fridge issues like frozen drain lines can also walk you through filter replacement if you need extra detail.
Reset Your Refrigerator And Test
Once you’ve cleared the defrost drain, inspected the water line, and replaced or cleaned the filter, it’s time to power the fridge back on and monitor it for leaks.
Plug the refrigerator back in (or turn the breaker back on if you switched it off at the panel). Let the unit run for 30 minutes, then check both inside and underneath for water. Look at the same spots where you saw water before. The defrost cycle typically runs every 8–12 hours, so you may need to wait a full day to be certain the leak is fixed, especially if the defrost drain was frozen.
If water reappears, you’ll need to revisit your diagnosis. Common next steps: if the inside is still wet after the defrost cycle, the drain line may not be fully clear (try flushing again with hot water or a plumbing snake), or the evaporator coils might have a defect requiring professional service. If the floor under the fridge is still wet, inspect the drain pan (the tray that catches defrost water under the fridge) to see if it’s cracked or if the drain tube leading to it is clogged. Information about refrigerator leaks from Good Housekeeping covers other causes and when to call a pro. If your troubleshooting reaches a dead end after a full 24-hour observation period, contact Whirlpool support or a licensed appliance technician, internal component failure (evaporator coils, defrost timer, or damper control) may require professional diagnosis and parts replacement.
Conclusion
A Whirlpool refrigerator leaking water is frustrating, but most causes, a blocked defrost drain, a kinked water line, or a dirty filter, are fixable by a hands-on homeowner in under an hour. Start with the simplest culprit (the drain), work through the water supply and filter, and reset to test. Patience and careful observation are your best tools here. If you’ve checked all the basics and water still appears, professional service is your next move.